Enter soil color observations on the Soil tab of the Site dashboard.
Soil color can be determined automatically from a photo, or entered manually.
Manual entry
If you know the soil color by using a Munsell color book or other reference, select the hues, values, and chroma, and tap Done.

Using a Photo
Tap the Use Photo button to have LandPKS Soil ID determine the soil color by analyzing a properly formatted image.

Tap the Add Image button to select a photo from your library or take a new photo.

Use the guide in the app to help you prepare the soil sample and take your photo properly.
Gather Post-it Notes
To ensure accurate color analysis, you must use 3M Canary Yellow Post-it notes for your reference card.
Post-it guidelines:
- Use only new, clean, blank Post-it notes.
- Stack at least 3 Post-it notes on top of each other.
- Lie Post-it notes flat
- Make sure each Post-it note isn’t degraded by sunlight, as sun exposure can considerably change the color of the Post-It note.
Store Post-It notes in dark envelopes to avoid sun exposure.
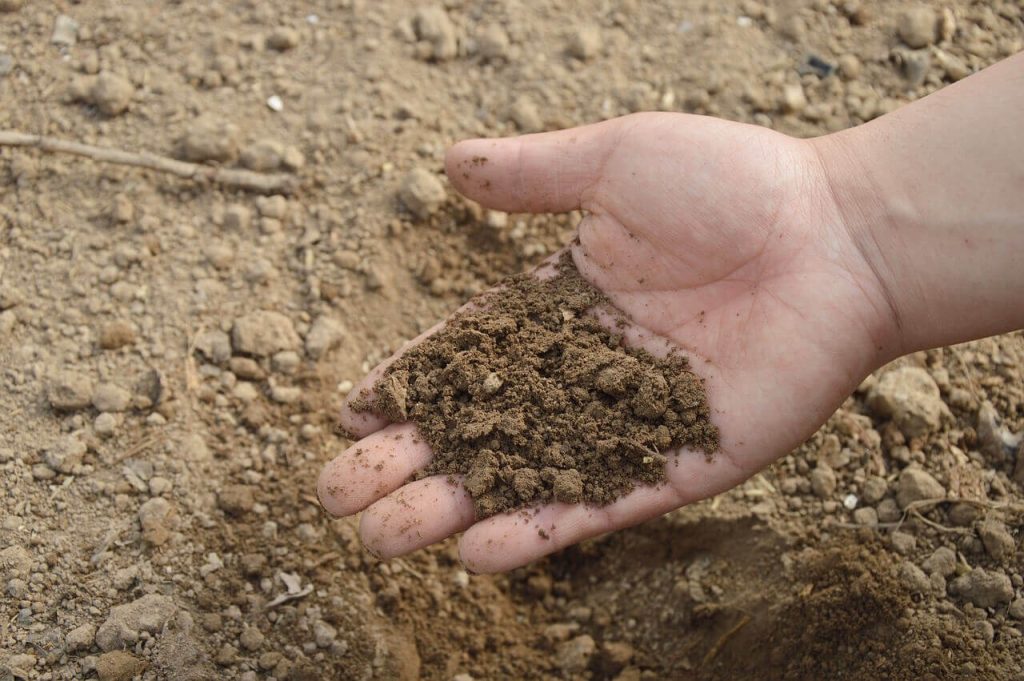
Prepare a soil sample
- Use dry soil whenever possible. The app does have a way to indicate if your soil is wet, but dry soil color estimates are more accurate.
- If your soil layer has multiple colors (i.e. mottles, redoximorphic features, or carbonates), isolate the dominant matrix color from the pile.
- Run soil through a 2 mm sieve to create a pile of homogenous soil, or use your hands to pick out anything larger than 2mm (1/16″).
- Flatten the pile of soil to minimize shadows within the soil sample.
Prepare lighting
The soil color photo needs to be taken in even lighting conditions and shaded from direct sun.
Use an overhead light source rather than side lighting.
Place the reference card next to the soil
Place the Post-it note next to the prepared soil sample, in the proper lighting conditions.
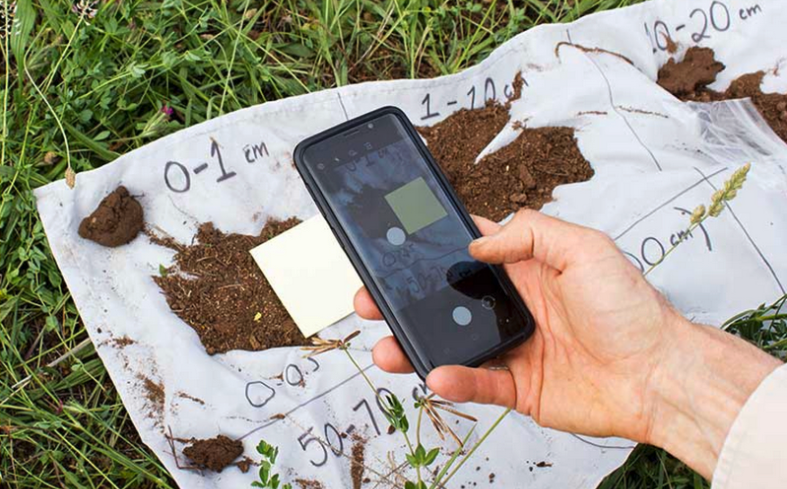
Compose the photo
Place the camera as close to the soil and Post-It note as you can without creating shadows or blurriness. Take the photo.
Specify the reference and soil
Once the photo is taken, or an image meeting the above criteria is selected, tap the Reference box and zoom the photo to the Post-It note (make sure no edges are visible in the box). Then tap the Soil box and zoom the photo to a section of the soil that is even and without harsh shadows or edges.
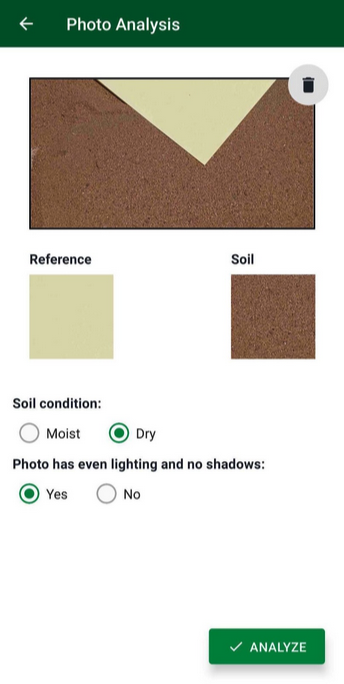
Indicate the wetness of the soil and lighting condition, and tap Analyze. LandPKS Soil ID will compare the reference and soil parts of the image and tell you the color result of the soil.
If an unusual color is calculated, LandPKS Soil ID will ask you if you want to Proceed with the color that was calculated, or adjust the color to the closest standard soil color.

If you want to discard the color result and start over, tap the Trash icon in the top right corner of the color result.