Soil texture is important for identifying soil and determining how to sustainably use the land. Use this guide to determine soil texture class and rock fragment volume with LandPKS Soil ID.
Soil is made up of particles of different sizes. Once you remove all large particles (anything over 2mm or 1/16″ in diameter), what is left is a mixture of sand, silt, and clay. Soil texture is determined by the percent of sand, silt, and clay in the soil. Changes in this ratio can have large impacts on the potential of the soil.
Soil texture determines many important characteristics of the land, including:
- How much water the soil can hold
- How quickly water can be absorbed into and percolate through the soil
- How easily soil erodes when exposed to wind or water
- How soil responds to management activities (for example, compaction from tillage operations)
Knowing the soil texture also helps you more accurately identify the soil.
Before you start
This guide assumes you already have your soil samples. If you haven’t yet, create a site to organize the soil observations you will make using this guide.
Remember, the more accurately you take the recommended measurements, the more accurate your suggested texture class will be.
Recommended tools and materials
- LandPKS Soil ID mobile app installed on your mobile device
- Soil samples with each depth clearly labeled
- A water bottle: soil must be moist for the texturing process
- A sieve: to remove rock fragments
Prepare the soil
Grab a palm full of soil from your sample.
Remove rock fragments
- Remove all rock fragments larger than 2mm. Use a sieve if you have one.
- Crush clumps of soil (if possible).
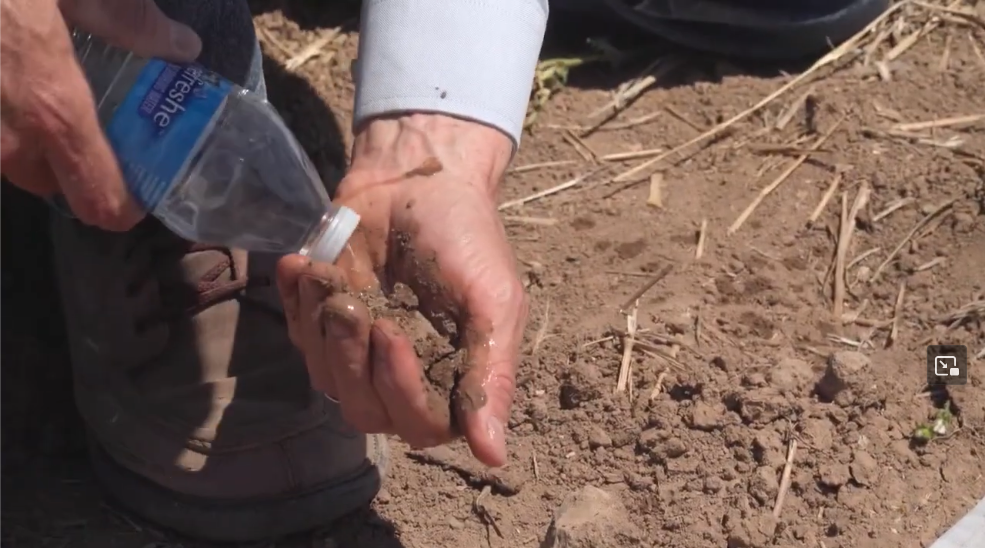
Wet the soil
- Pick up a handful of soil the size of a golf ball (about 25g).
- Poke a hole in the lid of your water bottle, or use a spray bottle, to slowly apply water to the sample.
- Work the water uniformly into the soil with your hands.
- The soil should be thoroughly damp, but not glistening, with a texture like putty. If the soil is too wet, add more dry soil from your sample.
- Avoid working the soil with your hands for longer than 2 minutes. If you go beyond 2 minutes discard the soil and start with a new sample.
Using the texture guide

On the “Soil” tab of a site, go to the depth that correlates with the depth of your soil sample and tap on Texture Class. Then tap the green button Use Guide to access the step-by-step hand-texturing process. Answer the questions in the guide, scrolling down after each answer. Depending on your answers, you will be asked some or all of the following questions:
Does the soil form a ball?
- Roll the soil in your hands to see if it forms a ball.
- If it crumbles when you apply slight pressure to roll it, the soil does not form a ball.
Does the soil form a ribbon?
- Grip the soil with your fingers (not your thumb).
- Use the inside of your thumb knuckle (the flat part) to push the soil upwards over the edge of your index finger. Do not use the tip of your thumb to press the soil.
- The ribbon should be parallel to the floor, not pointing upward or downwards.
- If the soil crumbles instead of holding together when you press to form a ribbon, then it does not form a ribbon.
- Let the ribbon fall naturally due to gravity. Measure the length of the segment, ignoring ragged edges.
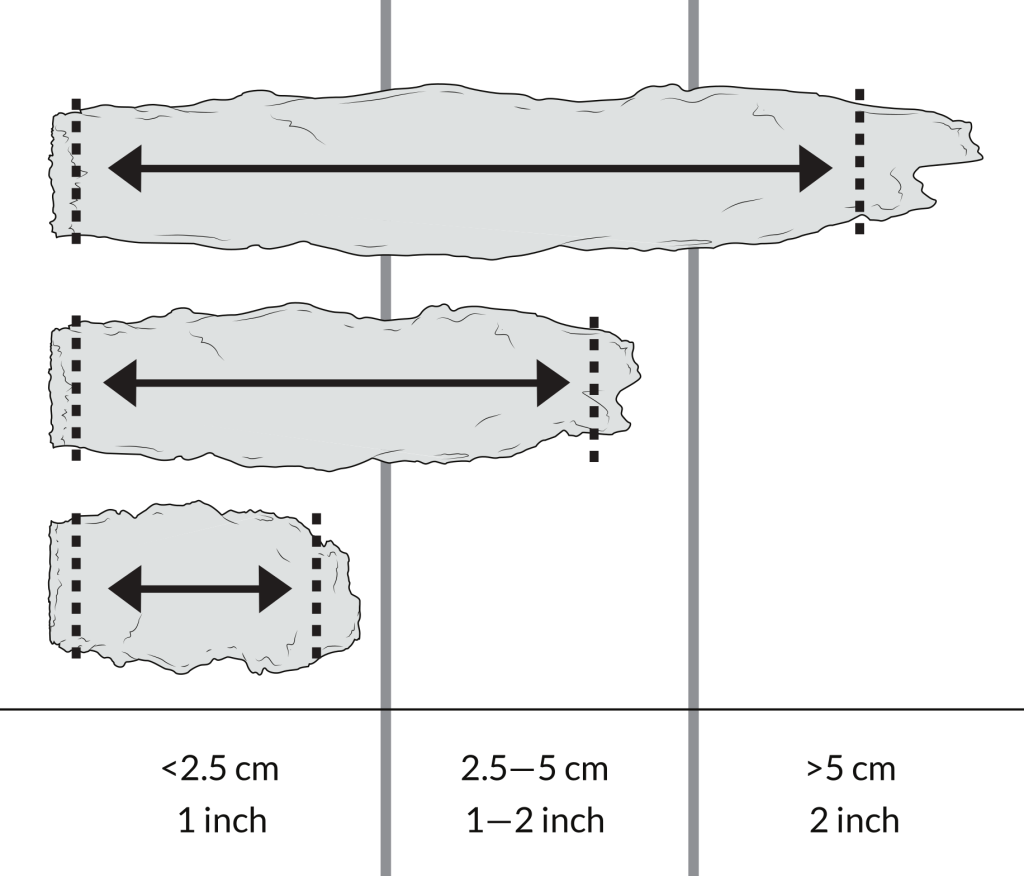
How long is the ribbon?
- Measure the length of the ribbon.
How does the soil feel?
- Gritty means you can feel individual grains in the soil.
- Smooth means that the wetted soil is slippery or soapy in feel.
- Not gritty or smooth means that neither of those two textures dominates. You may still feel some sand grains or some soapiness, but the feel of the soil is not predominantly one or the other.
When you answer all the questions you will be given the suggested texture class. Tap Use This Texture Class to enter the texture and return to the previous screen.
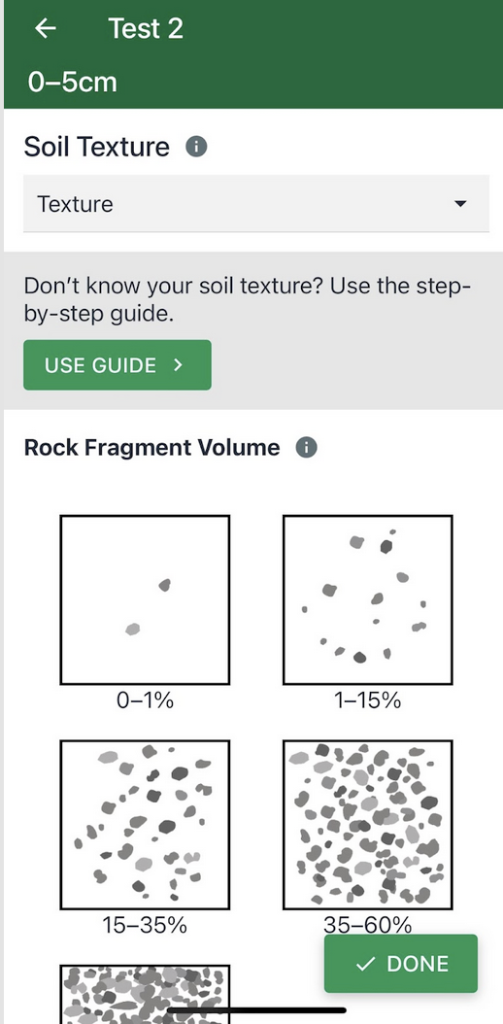
Measuring Rock Volume
Rock fragment volume is a measurement of how much of the soil volume is taken up by rocks, which is defined as anything larger than 2mm (1/16”) in diameter. Rock fragment volume can be determined in three ways.
Visual estimate: compare the volume of the soil before and after removing the rocks; compare the volume of rocks removed to the volume of the remaining soil.
Sieve-aided estimate: use a 2mm sieve to separate the rock fragments from the finer soil particles. Then, perform a visual estimate of the volume, using the images in the app as a guide.
Measure and calculate: place the rocks from the sample in a bucket with a known volume of water and measure the change in volume. Then divide that volume by the volume of the original soil sample to get a percentage.